My Amiga 600 and understanding the Gotek drive
- Andrew
- Feb 26, 2021
- 4 min read
As I said in a previous post, I joined the Norwich Amiga Group in July 2018. I sat quietly in that group for nearly two years, very jealous of everyone with their amazing machines, whilst my A500+ sat in the loft not working.
Then at the beginning of June 2020, I spotted a post that caught my attention immediately. An Amiga 600 that had been painted ORANGE (my favourite colour!) and it had been done really well. It looked amazing. I had seen lots of people retrobrighting their machines and they looked good, but this orange A600 just jumped out at me.

Less than 2 weeks later, the same machine was up for sale! Needless to say, I jumped at the opportunity and just a couple of days later I had picked it up. The guy that I bought it from had been an active member of the group and clearly knew his stuff, I had no doubts that the machine would work as advertised. He even gave me some advice on the A500+ that I had sat in the loft and that was to get it open as soon as possible and take the battery out! I’m very glad I did, but I’ll come back to that in another post.
Back to the A600... Other than the obvious paint job, the Kickstart ROM had been upgraded to 3.1 and the internal disk drive had been replaced with a Gotek, which is something I knew nothing about. Fortunately, I was given a USB stick full of games and a quick explanation of how to use to before I set off home.
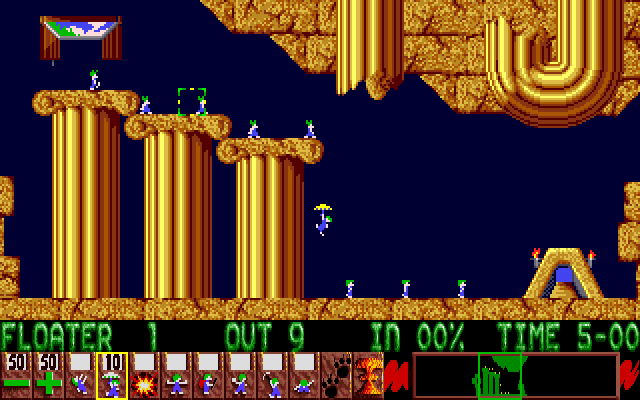
When I got home, I booted the machine up, loaded some classic games from my childhood and played away for a few hours! I was so happy that I finally had a working Amiga, and I would say that this is the point at which I started to really become fascinated with the Amiga again and started looking into what I could do with the machines.
Like I said, I didn’t know much about the Gotek drive at all so I thought it was worth sharing what I have subsequently discovered. The Gotek is essentially a floppy drive emulator. As far as the Amiga is concerned the drive is still an original floppy drive, but it allows you to load games and software from a USB flash drive. The files read from the flash drive are ‘Amiga Disk File’ or ADF files. These are readily available for download online, and a quick search of ‘Amiga ADF ROMS’ will bring up several websites for you to look through.
From what I can gather online, there are various firmware that will run on the Gotek, even making it useable on other machines, however for the Amiga the most common appears to be ‘FlashFloppy’ and indeed this is what was already on my drive. There is a lot of helpful information, install and usage guides as well as downloads on the FlashFloppy GitHub page at https://github.com/keirf/FlashFloppy/wiki
On the side of the drive is a small number display, which shows the disk number that is currently selected along with 2 buttons to go up and down the list of disks and a USB socket for the flash drive.

I’ve personally been using the ‘HxC Compatibility mode’ (https://github.com/keirf/FlashFloppy/wiki/Initial-Setup#hxc-compatibility-mode) which to me seemed like the simplest way to get started. Firstly, you need to set up a USB drive. It needs to have the Amiga AUTOBOOT.HFE and the HXCSDFE.CFG files saved in the root directory. In addition to these 2 files, you need folders containing all of your ADF files.

Once you have set up the flash drive and put it into the Gotek drive, if you turn on the Amiga and select position 000 the FlashFloppy menu loads up. From here you can load the ADF files into the numbered slots on the Gotek. Using the arrow keys and enter to navigate the menu, select the ADF file that you want to add to a slot. This will then take you into the HXCSDFE.CFG which contains a list of available slots. Select the slot you want to use, and press enter. The ADF file will be added to that slot, overwriting anything that was previously in the position. You can repeat this process to add all the ADF files you want to use. Once you have done this you need to click on ‘Drive A slots selection’ at the top of the screen and click save.

You can now use the 2 buttons on the side of the Gotek to select a disk position. Press Amiga, Ctrl Amiga to reset the machine and the disk you have selected will boot.
If there is anything that you feel I have missed or got wrong, please do correct me in the comments.
There are a few upgrades that you can make to the Gotek, some of which I plan to install and will document in a future post.
If you have enjoyed reading this blog, please like, comment and subscribe below.


.png)
Comments